
What Actually Drives Crimp Defects
Almost every bad crimp traces back to one of three things: wrong force, wrong wire seating, or a worn/wrong tool. Force too low leaves a loose joint; force too high crushes the pin or wire. Wire not fully inserted means the conductor sits outside the crimp.
Dirt, oxidation and a mismatched die finish the list. The fix is rarely "crimp it again harder" — it is finding which of those three variables drifted and correcting it.
Match the Fix to the Symptom
Loose joint with normal shape → raise force and confirm full insertion. Cracked or split pin → force too high or wrong jaw; lower force, change die. High resistance reading → poor contact from oxidation or partial strands; clean wire, re-seat, re-crimp. Insulation in the crimp → strip length was wrong; fix the strip setting.
Reading the symptom first saves you from chasing the tool when the real cause was the strip length or the wire.
Four Common Failure Modes in Detail
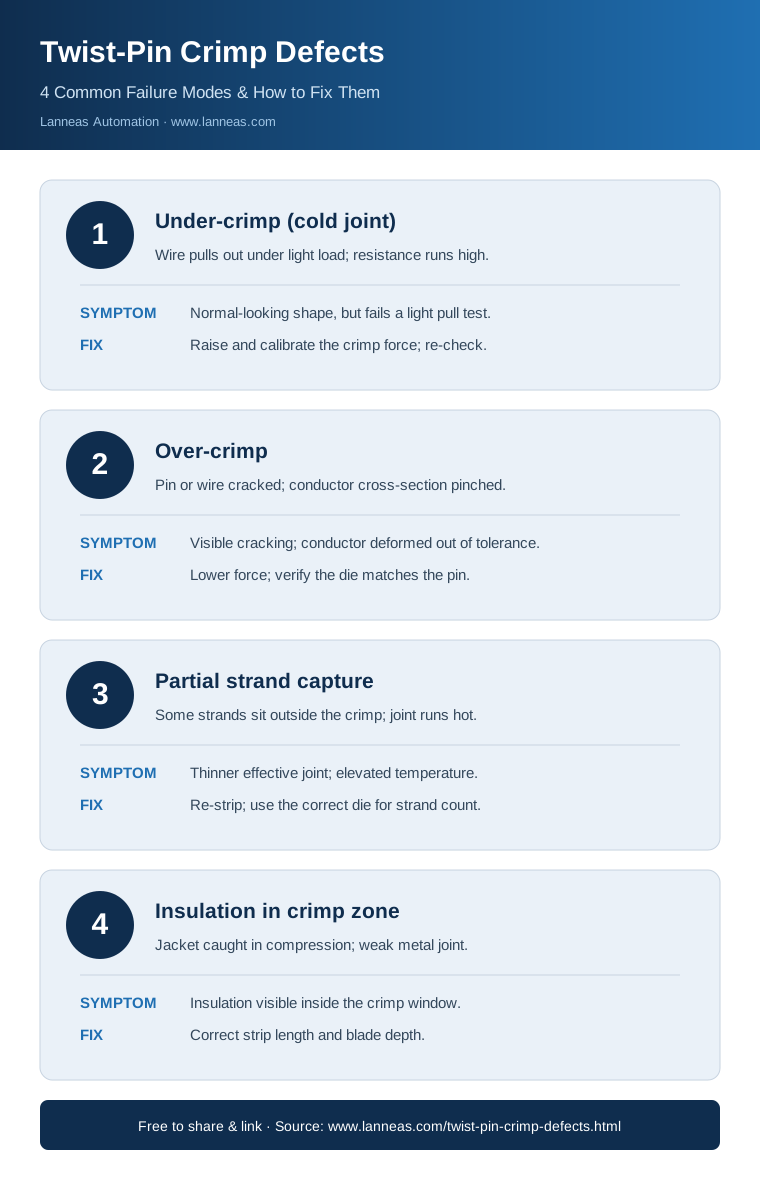
Under-crimp (cold joint): low force, wire pulls out under light load, resistance runs high. Fix by raising and calibrating force.
Over-crimp: pin or wire cracked, conductor cross-section pinched. Lower force and verify the die matches the pin.
Partial strand capture: some strands sit outside the crimp, so the joint is effectively thinner. Usually wrong strip length or wrong die; re-strip and use the correct die.
Insulation in crimp zone: jacket caught in the compression, weakening the metal joint. Correct the strip length and blade depth.
A Simple Troubleshooting Order
1) Confirm the wire is fully inserted. 2) Check strip length and blade depth. 3) Verify the die matches the pin. 4) Measure actual crimp force against spec. 5) Cross-section a sample to see strand capture. Step 1–2 catch most issues before you touch the machine.
Preventing Defects Before They Start
Keep the tool calibrated and the dies matched, strip to spec every time, and run a first-article check (pull + cross-section) at changeover. On automatic lines, use force-height monitoring and reject parts outside the window — that turns defects from "found later" into "stopped now."
Clean, dry benches and oxide-free wire remove most of the rest. Most "random" defects are really uninspected changeovers.